
LogoGrain
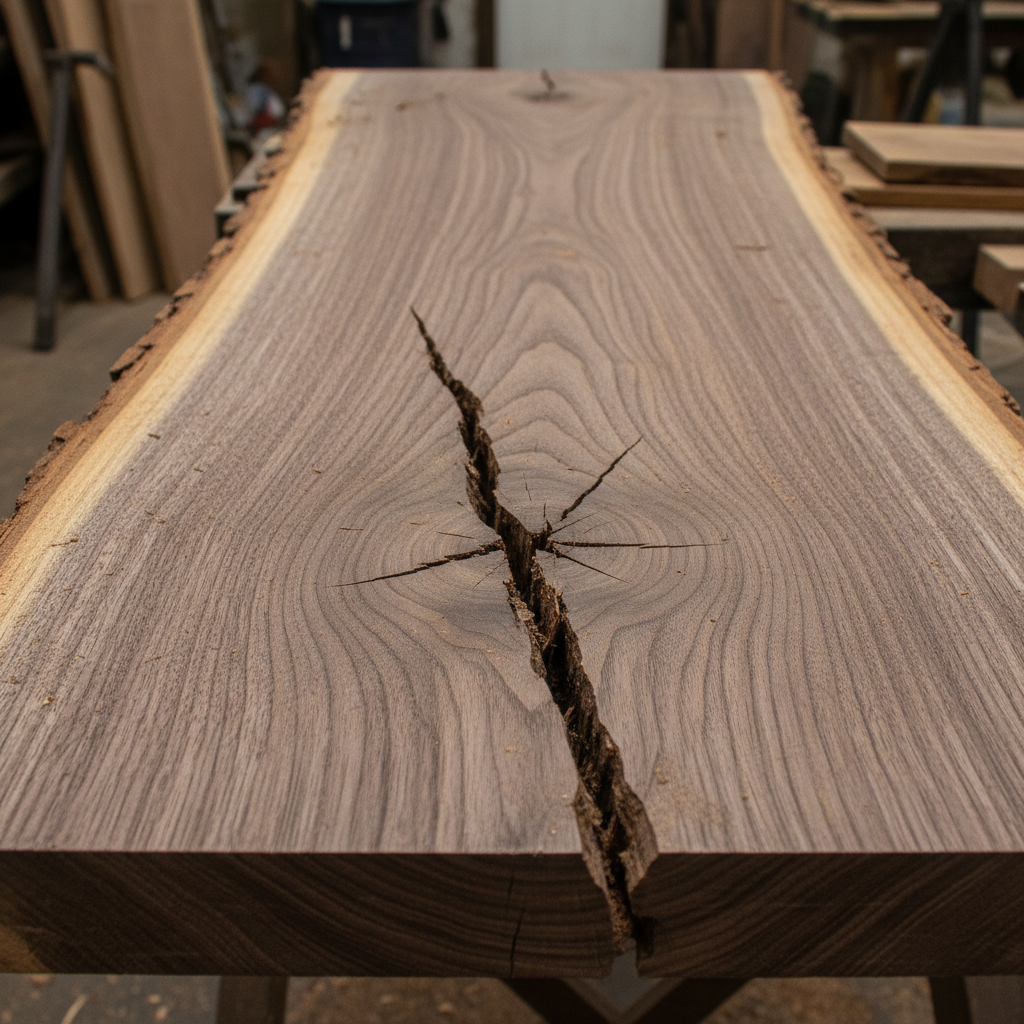
Rough bark-edged walnut slab with mill marks, chainsaw kerf visible, pith cracking at center
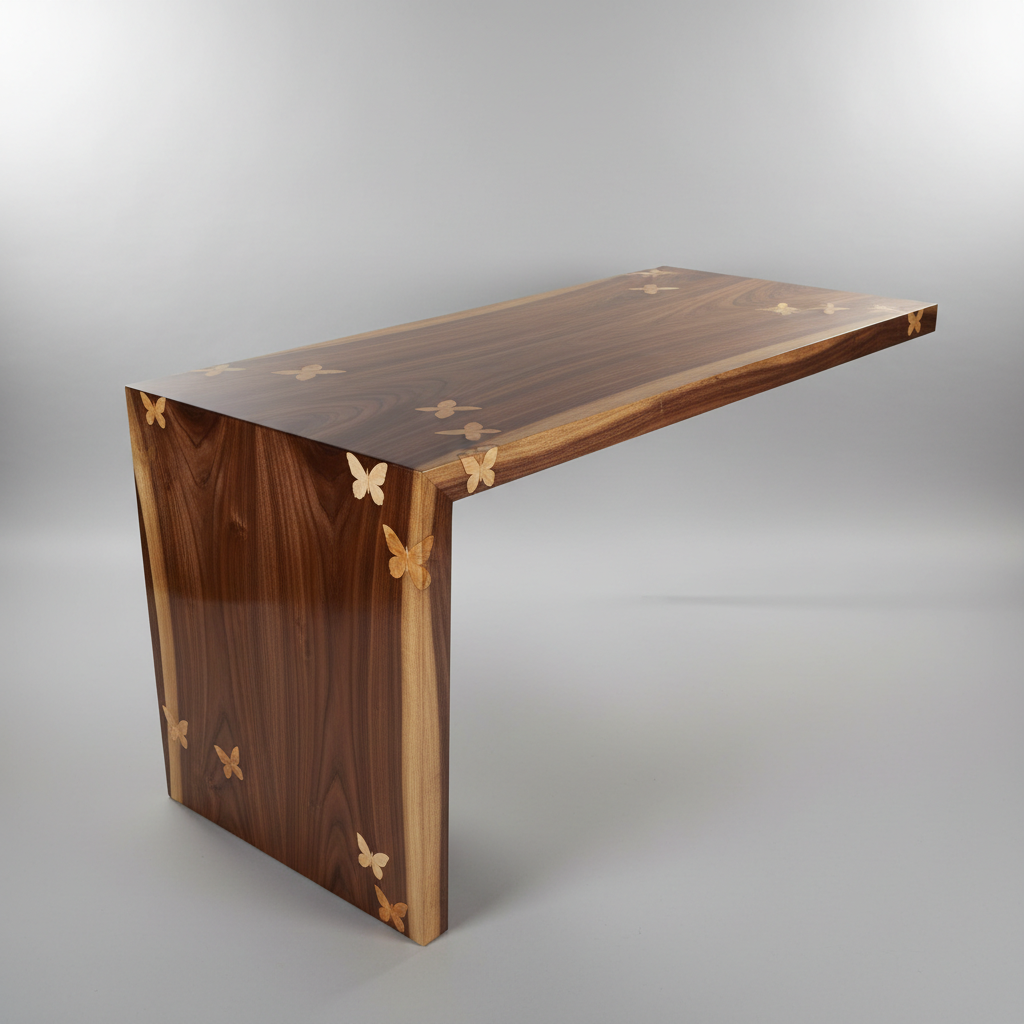
Finished waterfall-edge walnut desk with French polish catching light, butterfly keys spanning former cracks
Mill-Run Slab
Finished Build
Drag to Reveal
From Board to Built
Walnut · White Oak · Heirloom Joinery
01
Project One

Black Walnut End Grain Board

Material Black Walnut
Joinery Glue-up, no hardware
Time in Shop 3 hours
Board Feet 8 bd ft
Get the Cut List
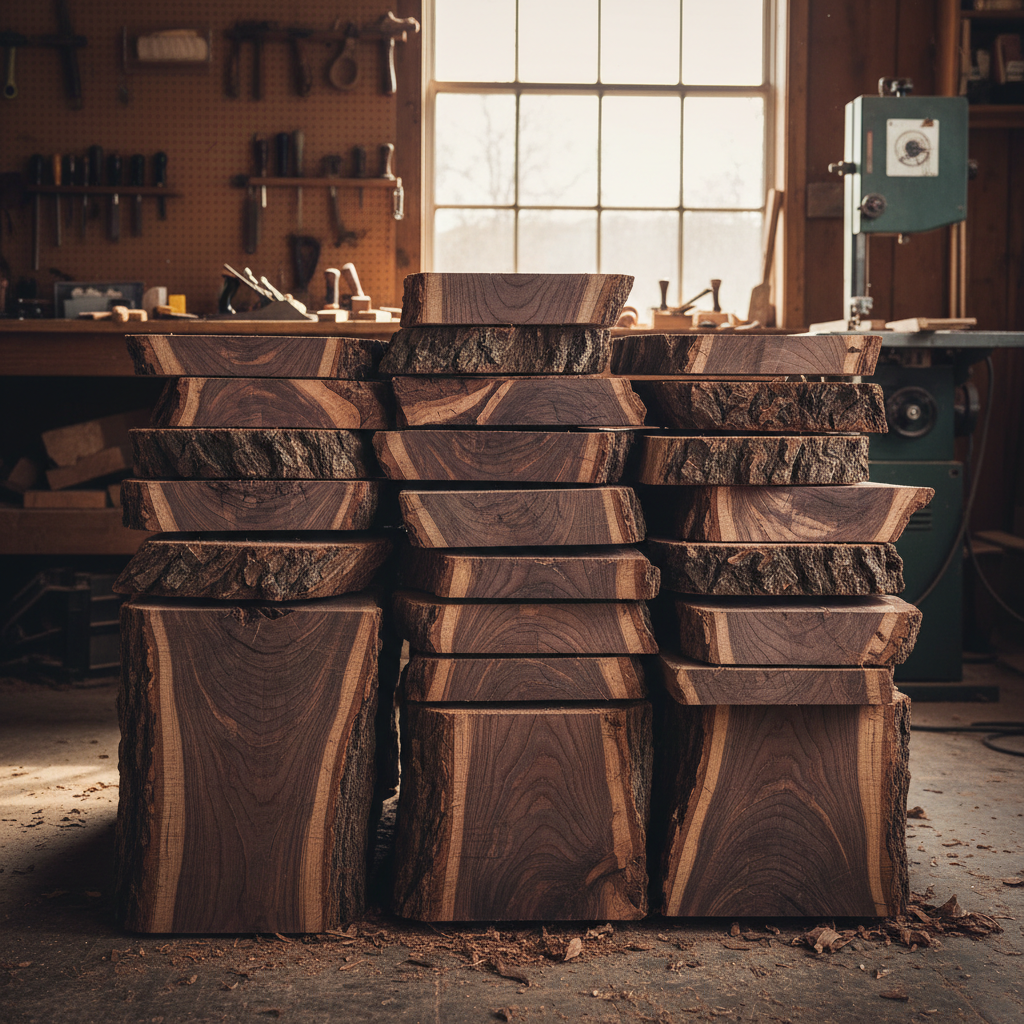
Rough black walnut lumber offcuts with visible grain and bark edges stacked in workshop
01Raw Material
Figured Crotch Walnut

Three offcuts from a slab mill in Vermont. 8/4 stock, still green in the middle. Paid $40 for the bundle and carried it home in the back seat.
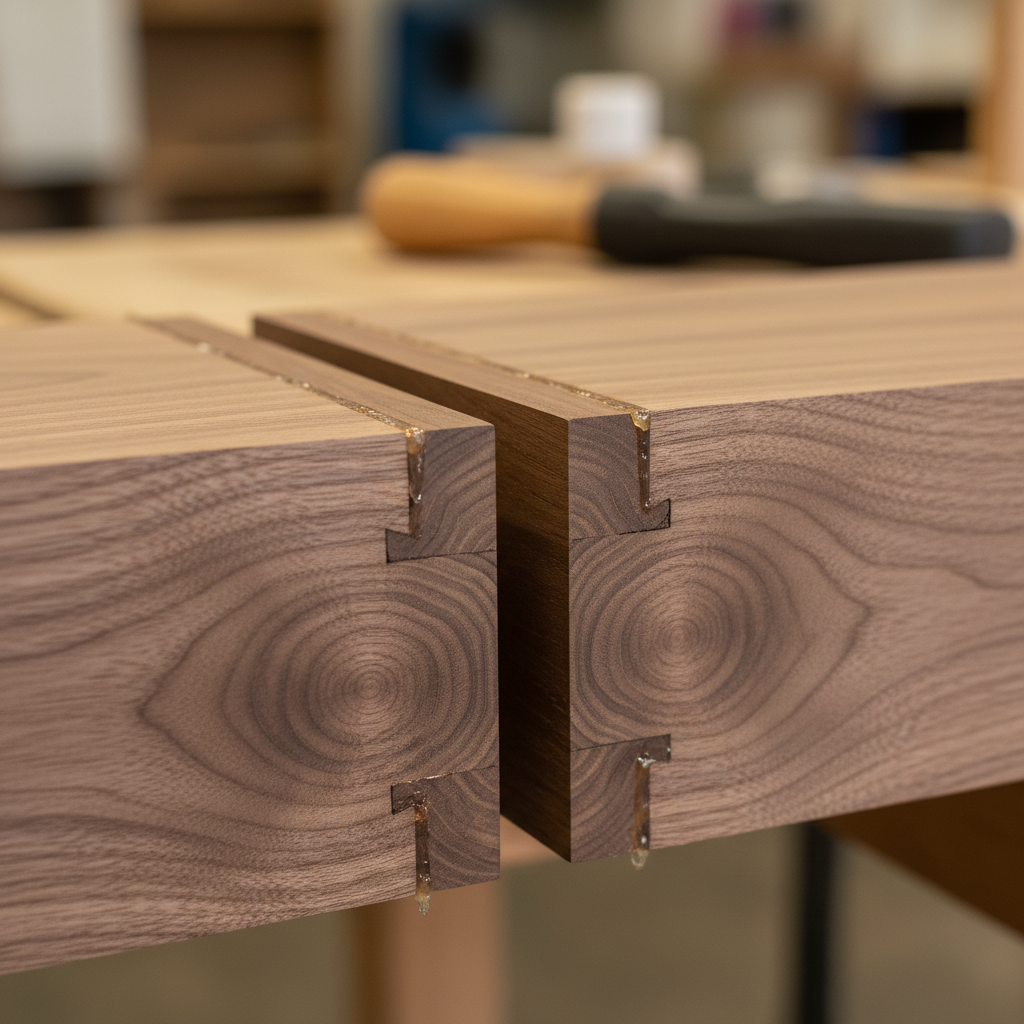
Close-up of wood joinery showing end grain orientation and glue lines in walnut board
02Joinery Problem
End Grain Expansion

End grain moves differently than face grain — gluing them together without accounting for seasonal movement will split the board clean in half by December.
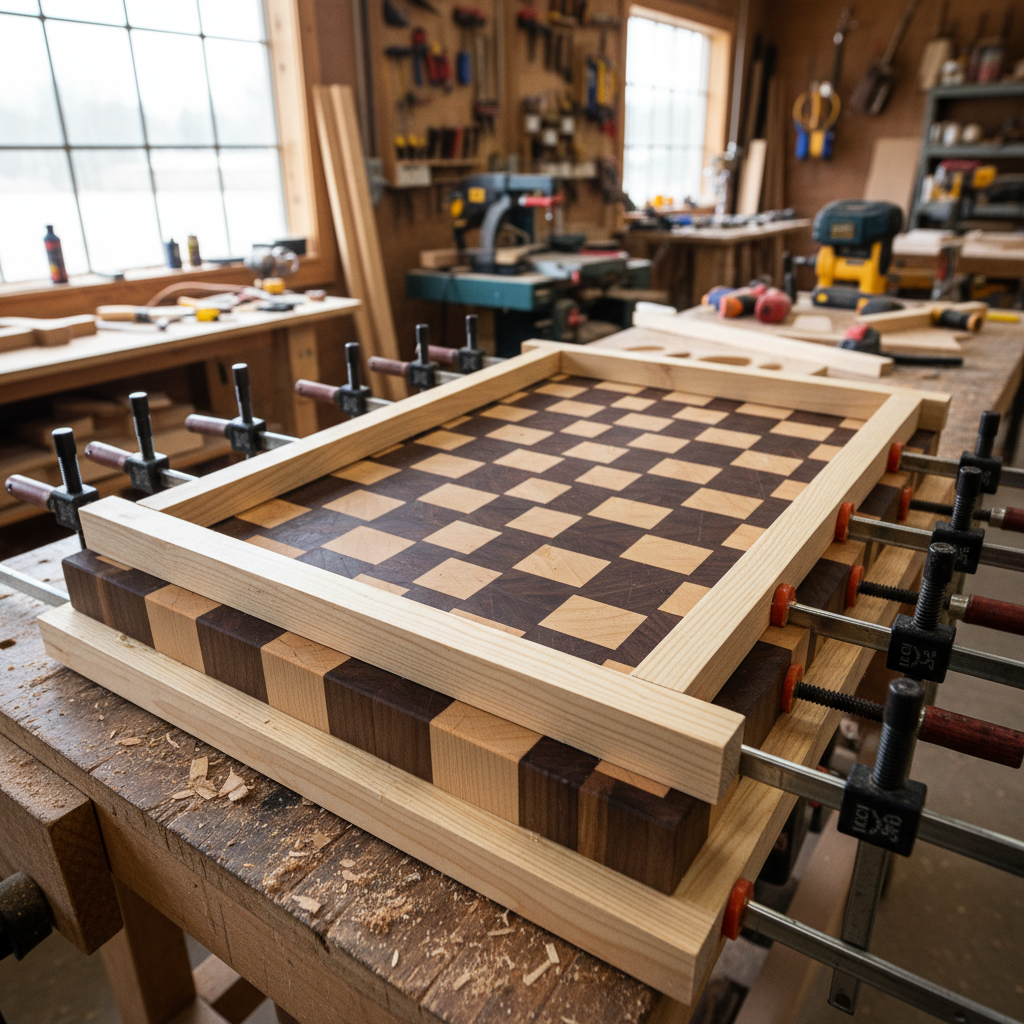
Woodworking clamps holding walnut cutting board glue-up with sawdust on workshop floor
03In Progress
15 Test Fits, 1 Glue-Up

The pieces sat in clamps for 24 hours. I used Titebond III and a router sled to flatten. The shop smelled like walnut oil for three days.
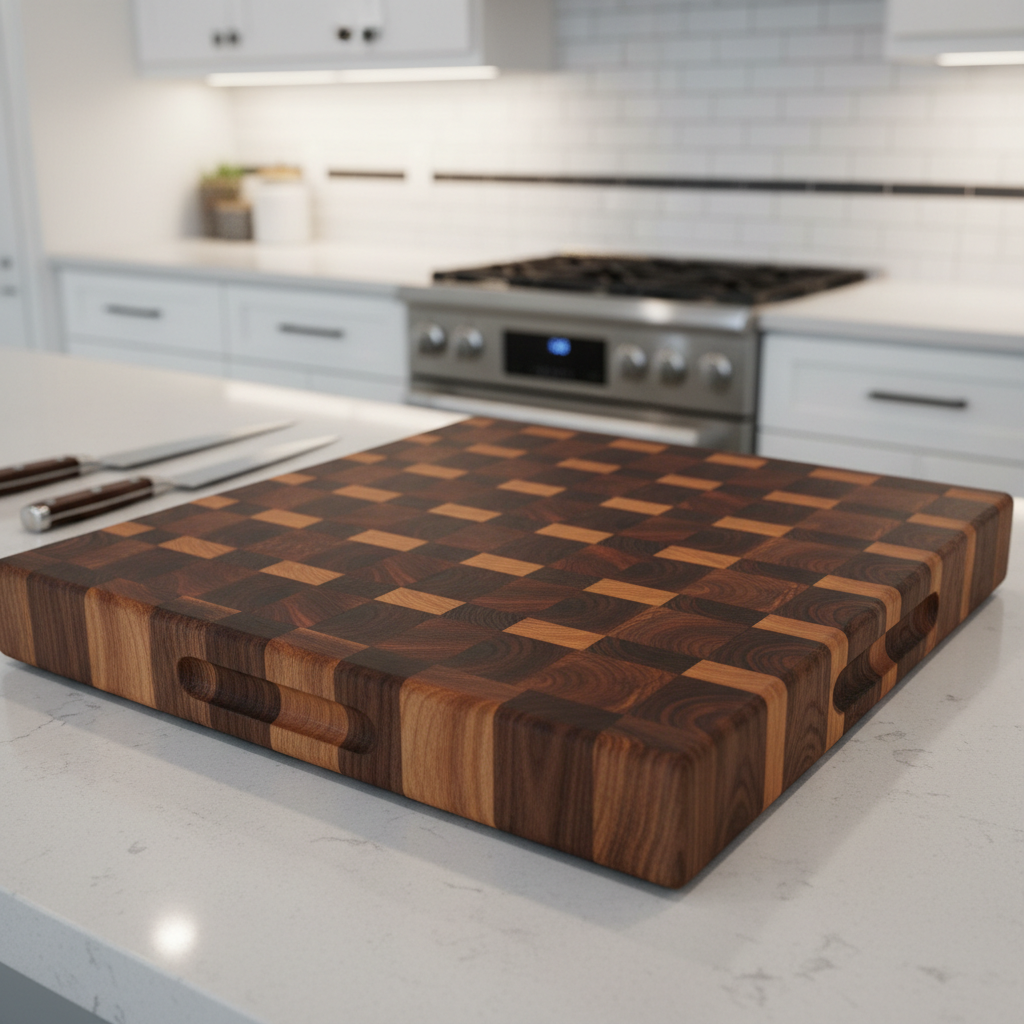
Finished black walnut end grain cutting board on modern kitchen counter with warm lighting
04Finished Piece
Live in Its Kitchen

Mineral oil finish, three coats. The end grain soaked up the first two completely. It now lives on a countertop in Northampton, MA.

05 — What Went Wrong
I planed against the grain on the second strip and got tearout down to the glue line. Filled it with black epoxy. Now it looks intentional.

Lesson: always read the grain direction before the first pass. A card scraper would have saved me 20 minutes of sanding.
Titebond IIIRouter Sled Flatten#180 → #220 → #320Mineral Oil 3x
Get the Cut List
02
Project Two

Through-Dovetail Jewelry Box

Material Quartersawn White Oak
Joinery Hand-cut through dovetails
Time in Shop 12 hours
Board Feet 4 bd ft
Get the Cut List
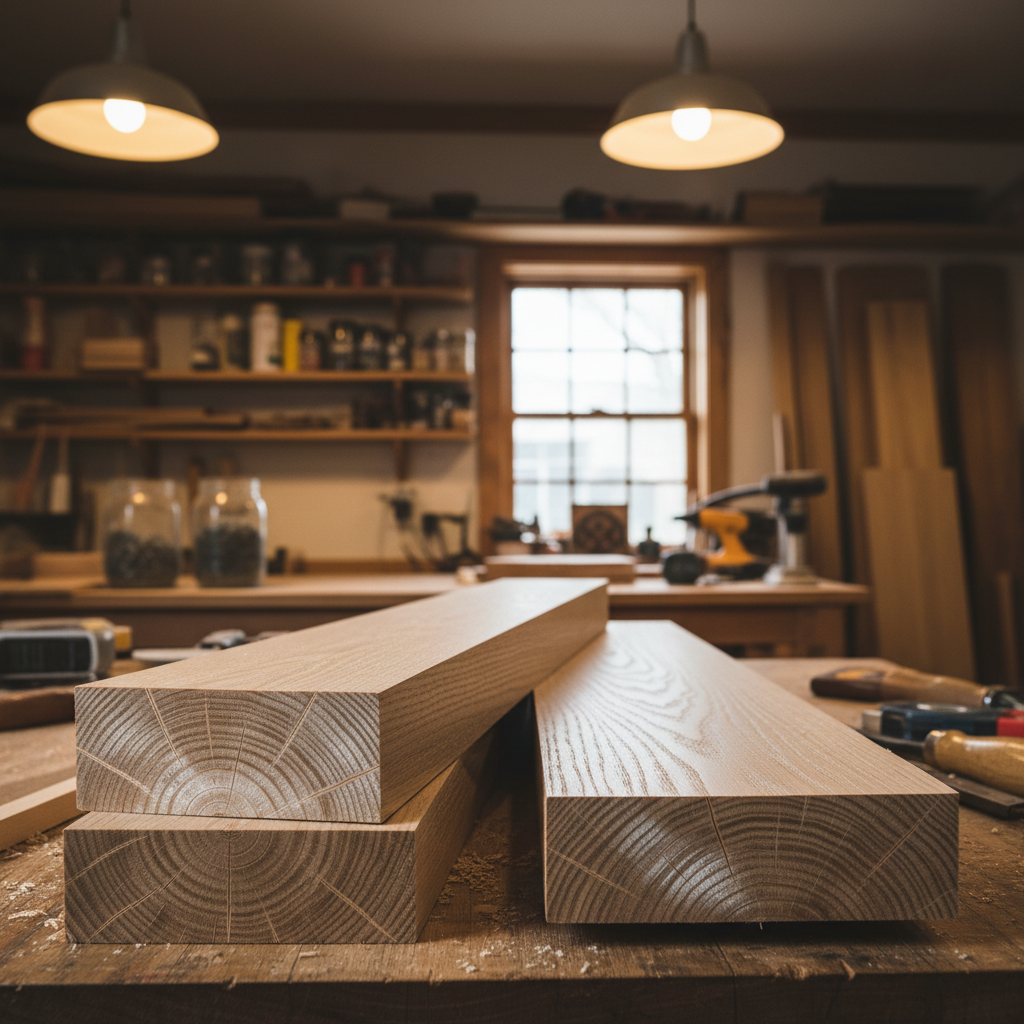
Quartersawn white oak lumber showing distinctive ray fleck pattern in workshop lighting
01Raw Material
Quartersawn White Oak

Tight ray fleck, perfectly quartersawn. Resawn to 3/8" on the bandsaw. Eight passes through the thickness planer to get it flat and consistent.
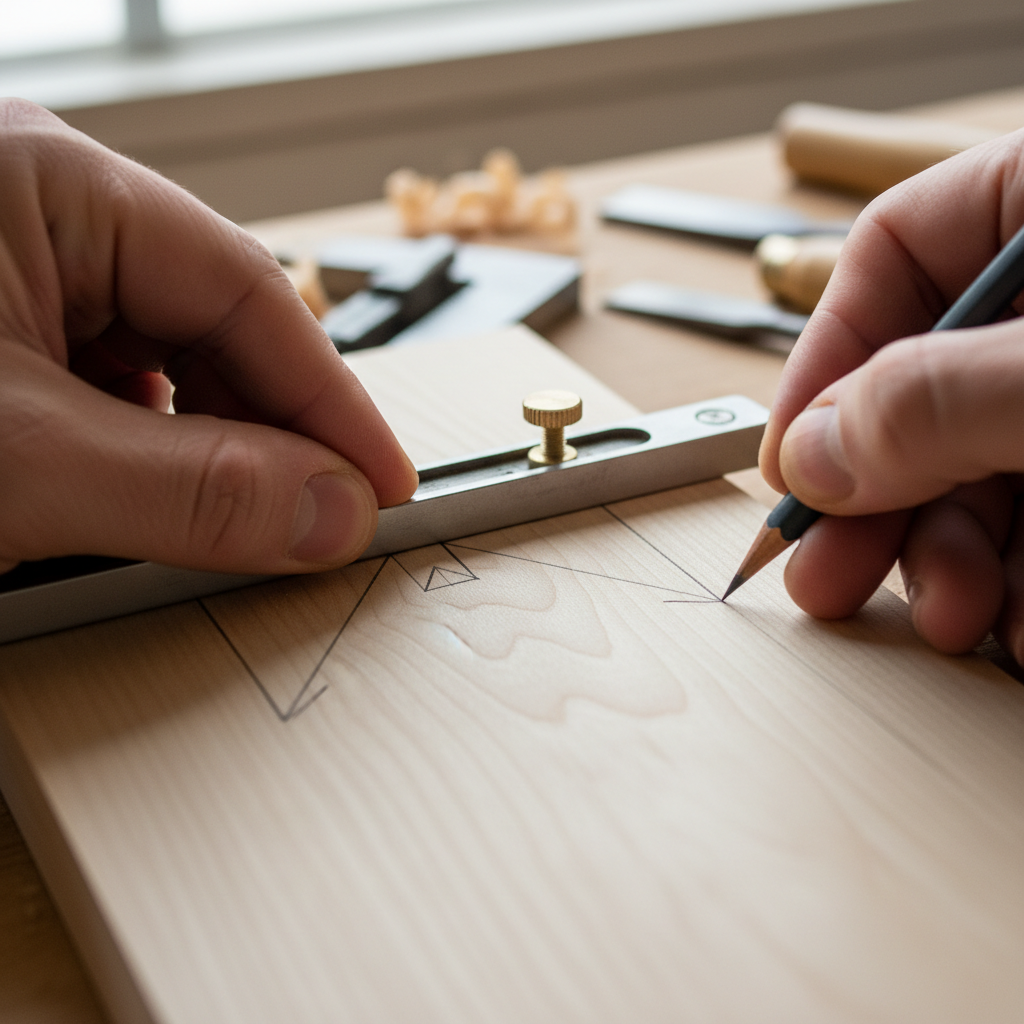
Hand-cut dovetail joinery being marked with a marking gauge on white oak board
02Joinery Problem
The Dovetail Ratio

White oak is hard and unforgiving. The standard 1:8 slope left gaps at the baseline. Switched to 1:6 on the third attempt. The chisel work alone took four hours.
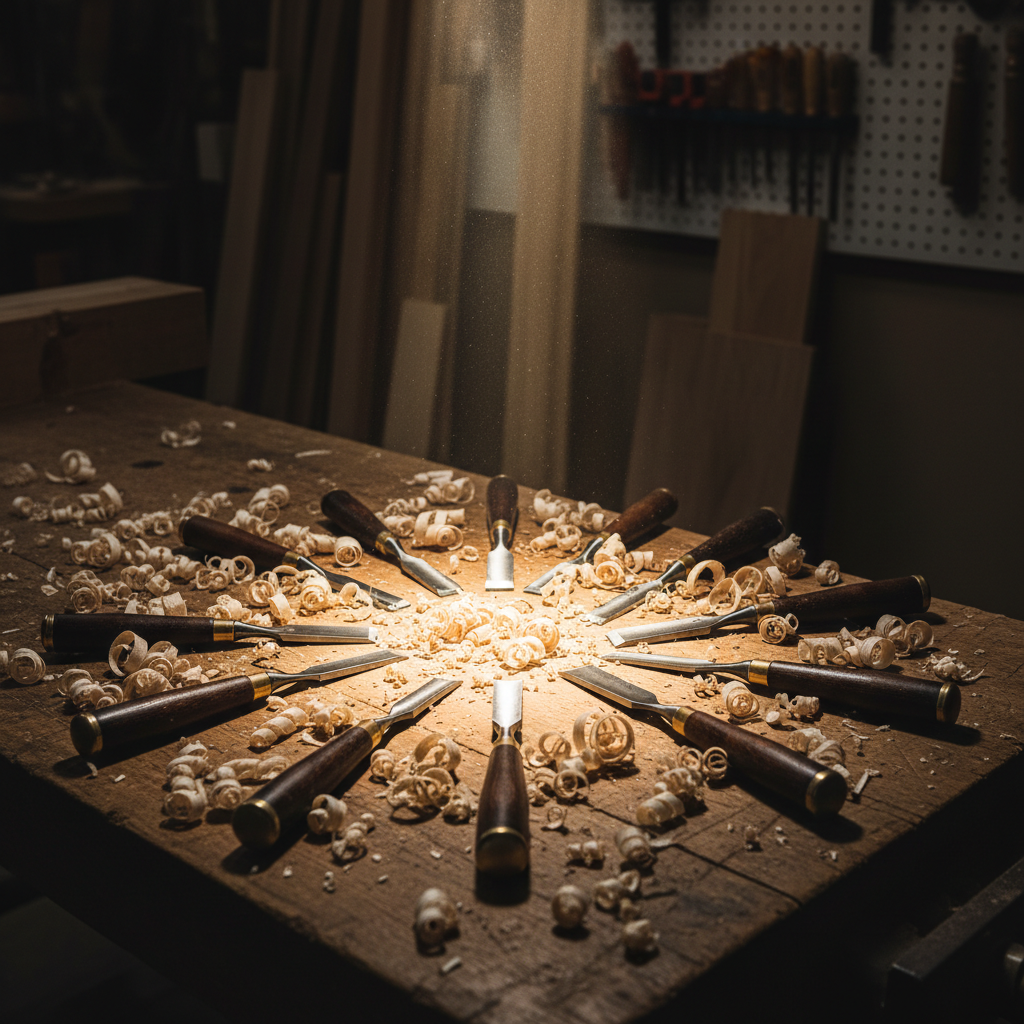
Woodworking chisels and hand tools with white oak shavings on workbench under single light
03In Progress
Chisels, Shavings, Silence

Midnight in the shop. Just the clamp light and a Lie-Nielsen 1/4" chisel. You could hear the oak fibers part. Fifth fit was perfect. Sixth was the glue-up.
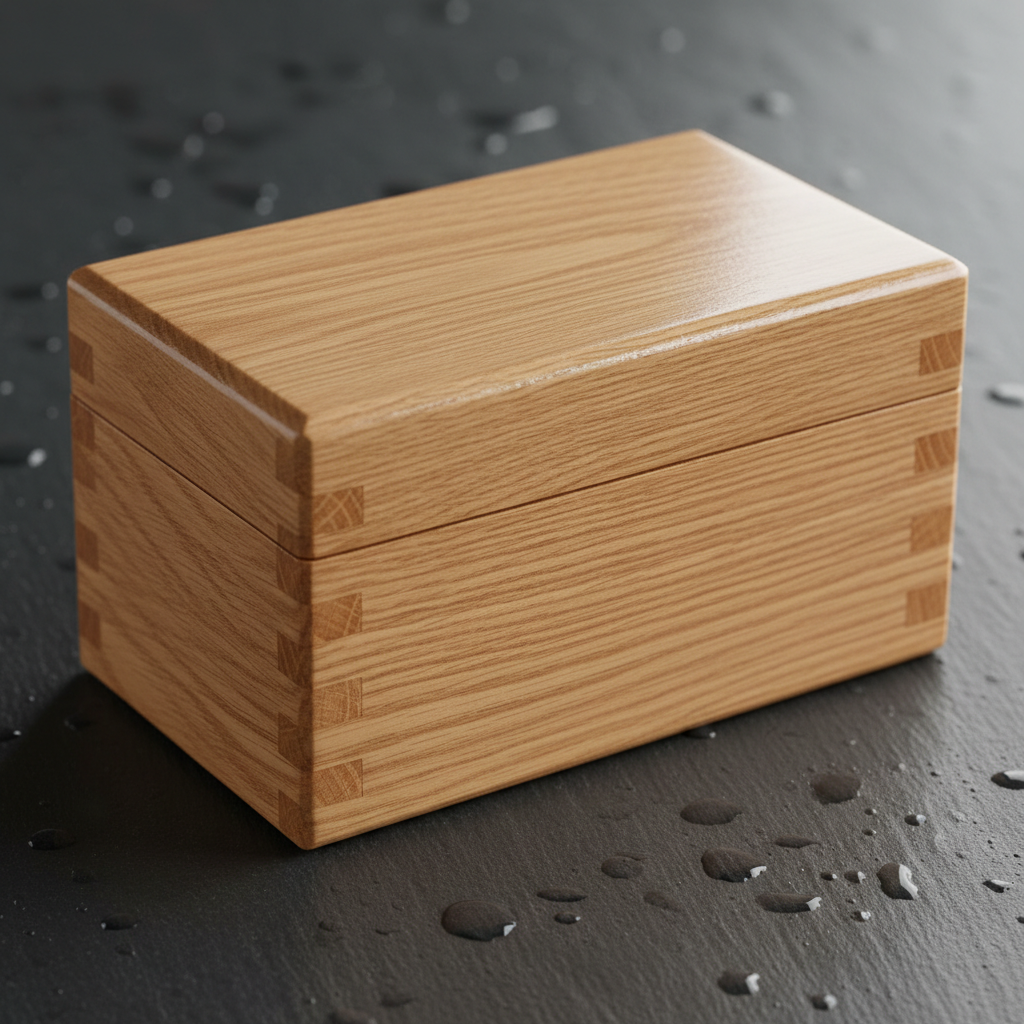
Finished white oak jewelry box with visible dovetail joinery and shellac finish on dark surface
04Finished Piece
The Box That Taught Me

Shellac finish, three coats of 2-pound cut. The ray fleck catches light at every angle. Fitted with a cedar bottom for the smell. It went to my sister.

05 — What Went Wrong
Two of the twelve dovetail pins split when I drove them home. I should have sized the joints more carefully. Glue hid it. The joint is still strong. But I know.

The lesson: sneak up on the fit. One shaving at a time. The chisel does not forgive impatience.
Lie-Nielsen Chisels1:6 Dovetail RatioShellac 2lb Cut 3xCedar Bottom
Get the Cut List
03
Project Three

White Oak Trestle Dining Table

Material White Oak, 8/4 Riftsawn
Joinery Through-mortise and tenon
Time in Shop 6 weeks
Board Feet 42 bd ft
Get the Cut List
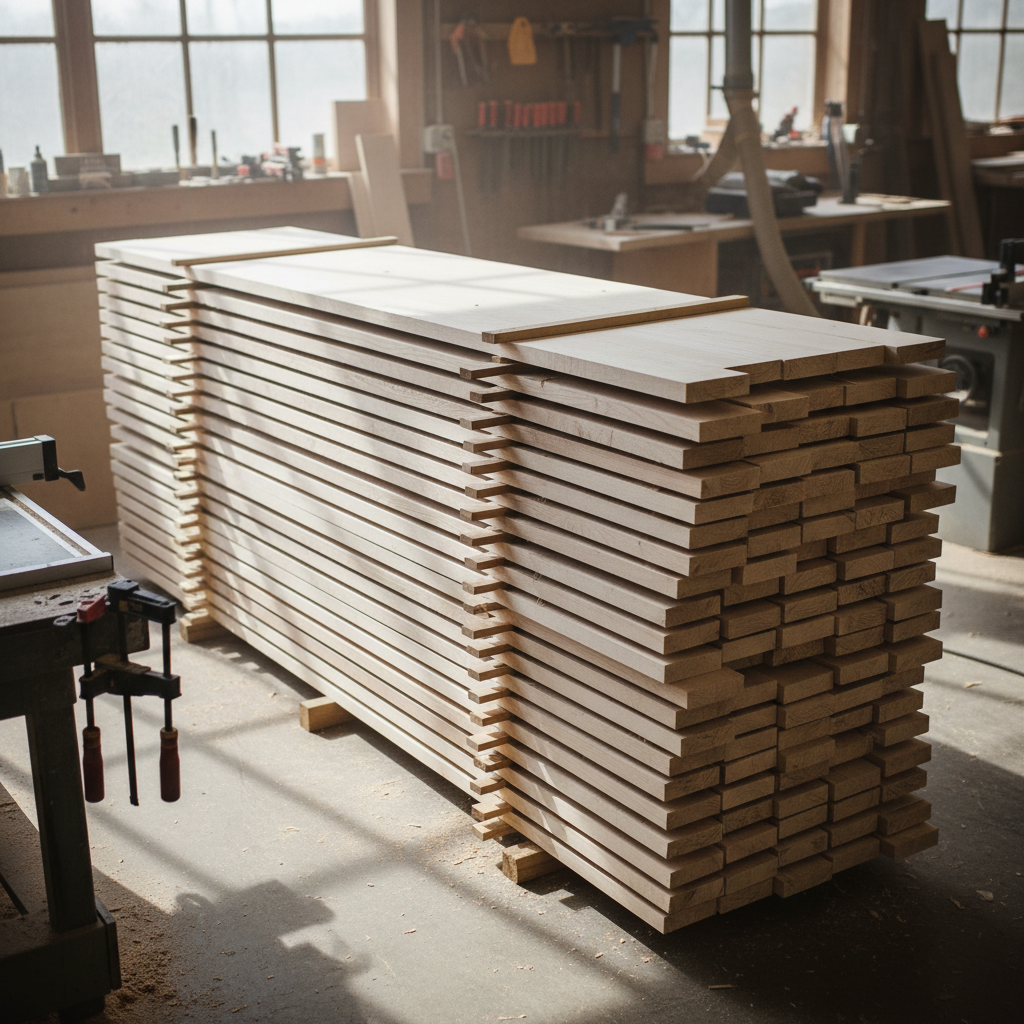
Large riftsawn white oak lumber boards stacked with stickers for air drying in workshop
01Raw Material
42 Board Feet of Riftsawn White Oak

From a family-run sawmill in the Berkshires. The boards were 10 feet long and had been air-drying for three years. I stickered them in the shop for another month.
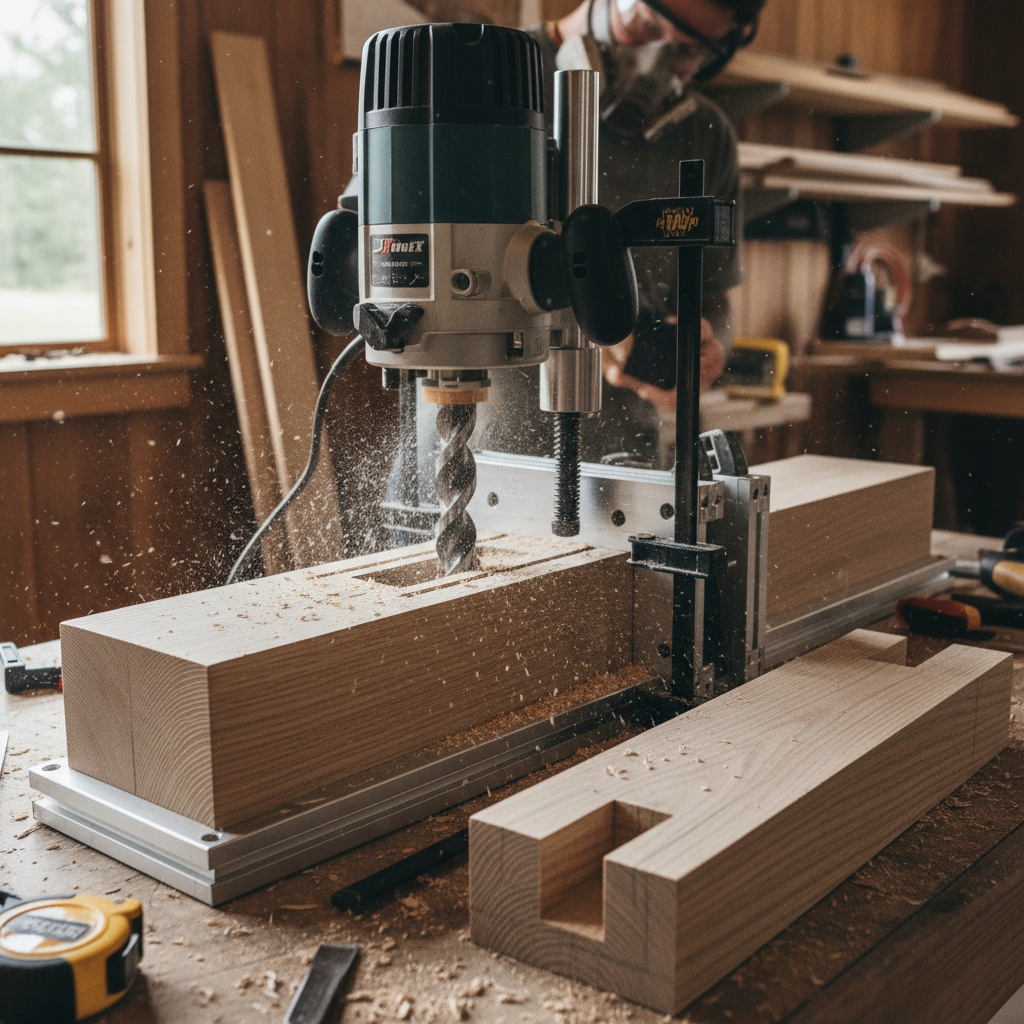
Through-mortise and tenon joinery being cut in white oak trestle table leg with router
02Joinery Problem
Through-Mortise Geometry

A trestle table's structural integrity lives in the through-mortise. The stretcher needs to be removable for transport, which means a draw-bore peg, not glue.
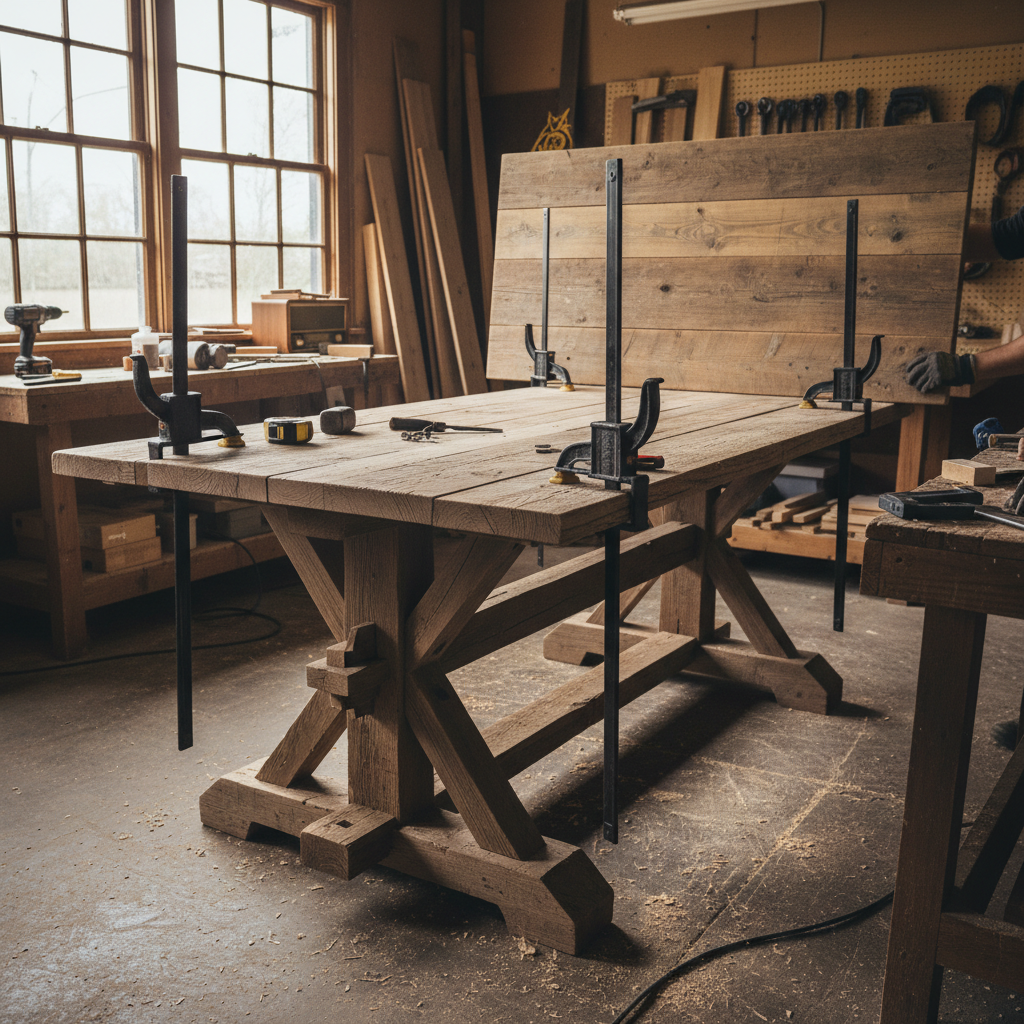
Large dining table assembly with multiple clamps holding trestle base structure in workshop
03In Progress
Six Weeks of Clamps

The trestle legs alone took two weeks. Each through-mortise was chopped by hand — a 1-1/4" pigsticker chisel and a mallet. The draw-bore pegs are 3/8" white oak dowels.
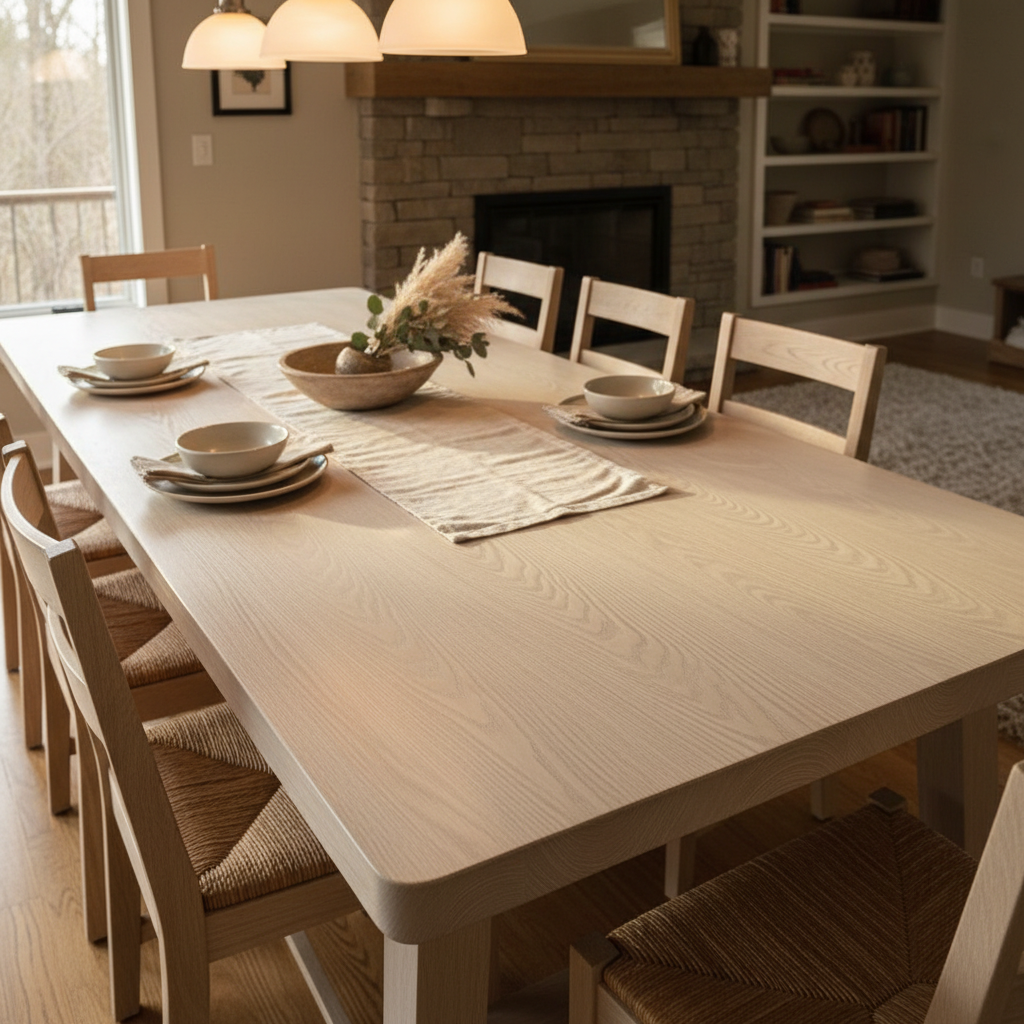
Finished white oak trestle dining table in home setting with warm natural light from windows
04Finished Piece
Seats Eight, Weighs 140 lbs

Danish oil finish, four coats. The top has a slight warp that I could not get out — you can feel it with your hand but not see it. It will outlive the house.

05 — What Went Wrong
I cut the draw-bore offset wrong on the left trestle. The peg pulled the joint 1/16" out of square. I shimmed it with a playing card during glue-up. Nobody knows.

Six weeks, 42 board feet, 140 lbs. Three mortise chisels dulled to uselessness. One marriage tested. Zero regrets.

Draw-Bore Peg JoineryDanish Oil 4x1-1/4" Pigsticker Chisel42 bd ft Riftsawn Oak
Get the Cut List
Free Download

Get the
Cut List.

Measured drawings, board-foot calculations, and the exact finish schedule — everything you need to build it yourself. No fluff, just the file.

Browse the Plans Library
Available Plans
Black Walnut End Grain Cutting Board
8 bd ft · 3 hrs · Oil finish
Beginner
Through-Dovetail Jewelry Box
4 bd ft · 12 hrs · Shellac
Intermediate
White Oak Trestle Dining Table
42 bd ft · 6 wks · Danish Oil
Advanced
Walnut Floating Credenza
28 bd ft · 3 wks · French Polish
Advanced

Every plan includes the mistake I made and how I'd fix it next time.

Scroll to explore